Covered Belt Buckle
Making a Scout Dress belt
This month, one of the things I’ve been working on is the July Gertie Patreon – Scout Dress. To accompany the dress, there is a belt. Check out the Charm Patterns Blog for details on how to make. It’s been a lifetime ago that I last made a belt, so I absolutely had to make one for my dress!
I couldn’t get a belt buckle kit, so improvised!
Covering a Belt Buckle
YOU WILL NEED:
- belt buckle (either repurposed or bought*)
- small piece of fabric, enough to cover both front and back of buckle
- iron on interfacing
- thread
*As I wanted a specific size and shape buckle, I opted to buy one from the Trimmingshop on Etsy
METHOD:
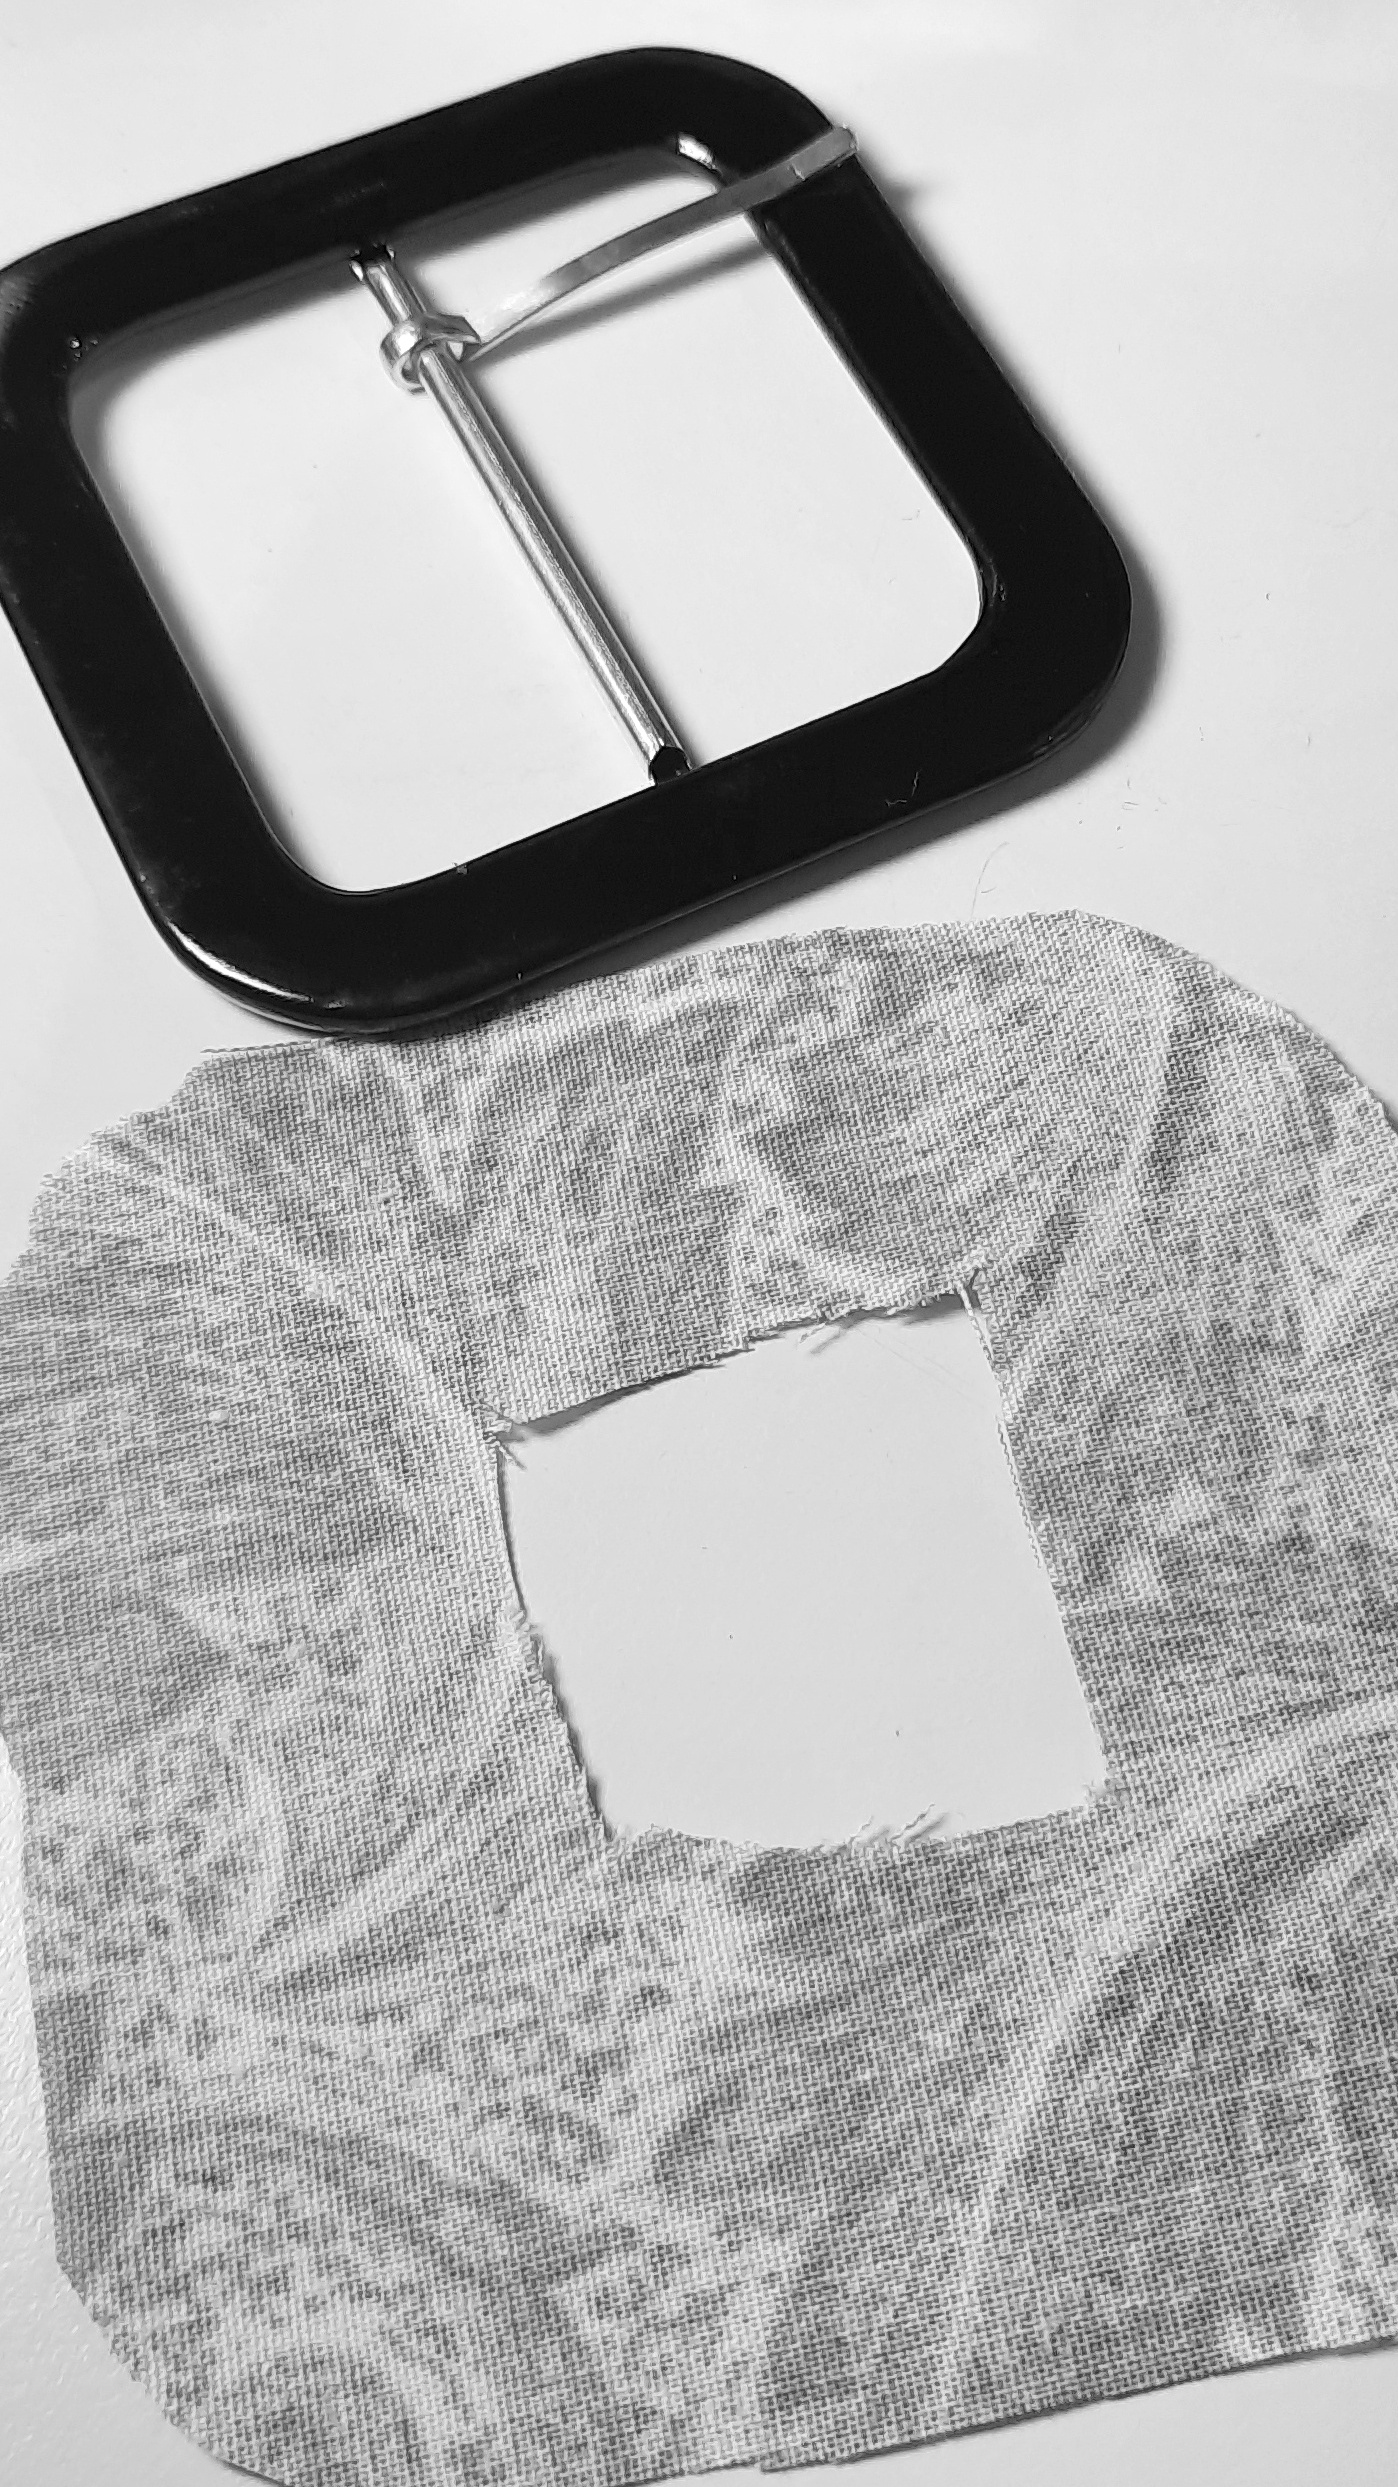
Cut a piece of fabric large enough to wrap around the buckle. (It is easier to leave cutting the centre until after applying the interfacing).
Cut and apply interfacing to the wrong side of the fabric.
Sew a running stitch around outer edge of fabric. Pull thread so the fabric wraps around the buckle.
Clip the inner corners of the fabric, enough to help ease the fabric around the corner.
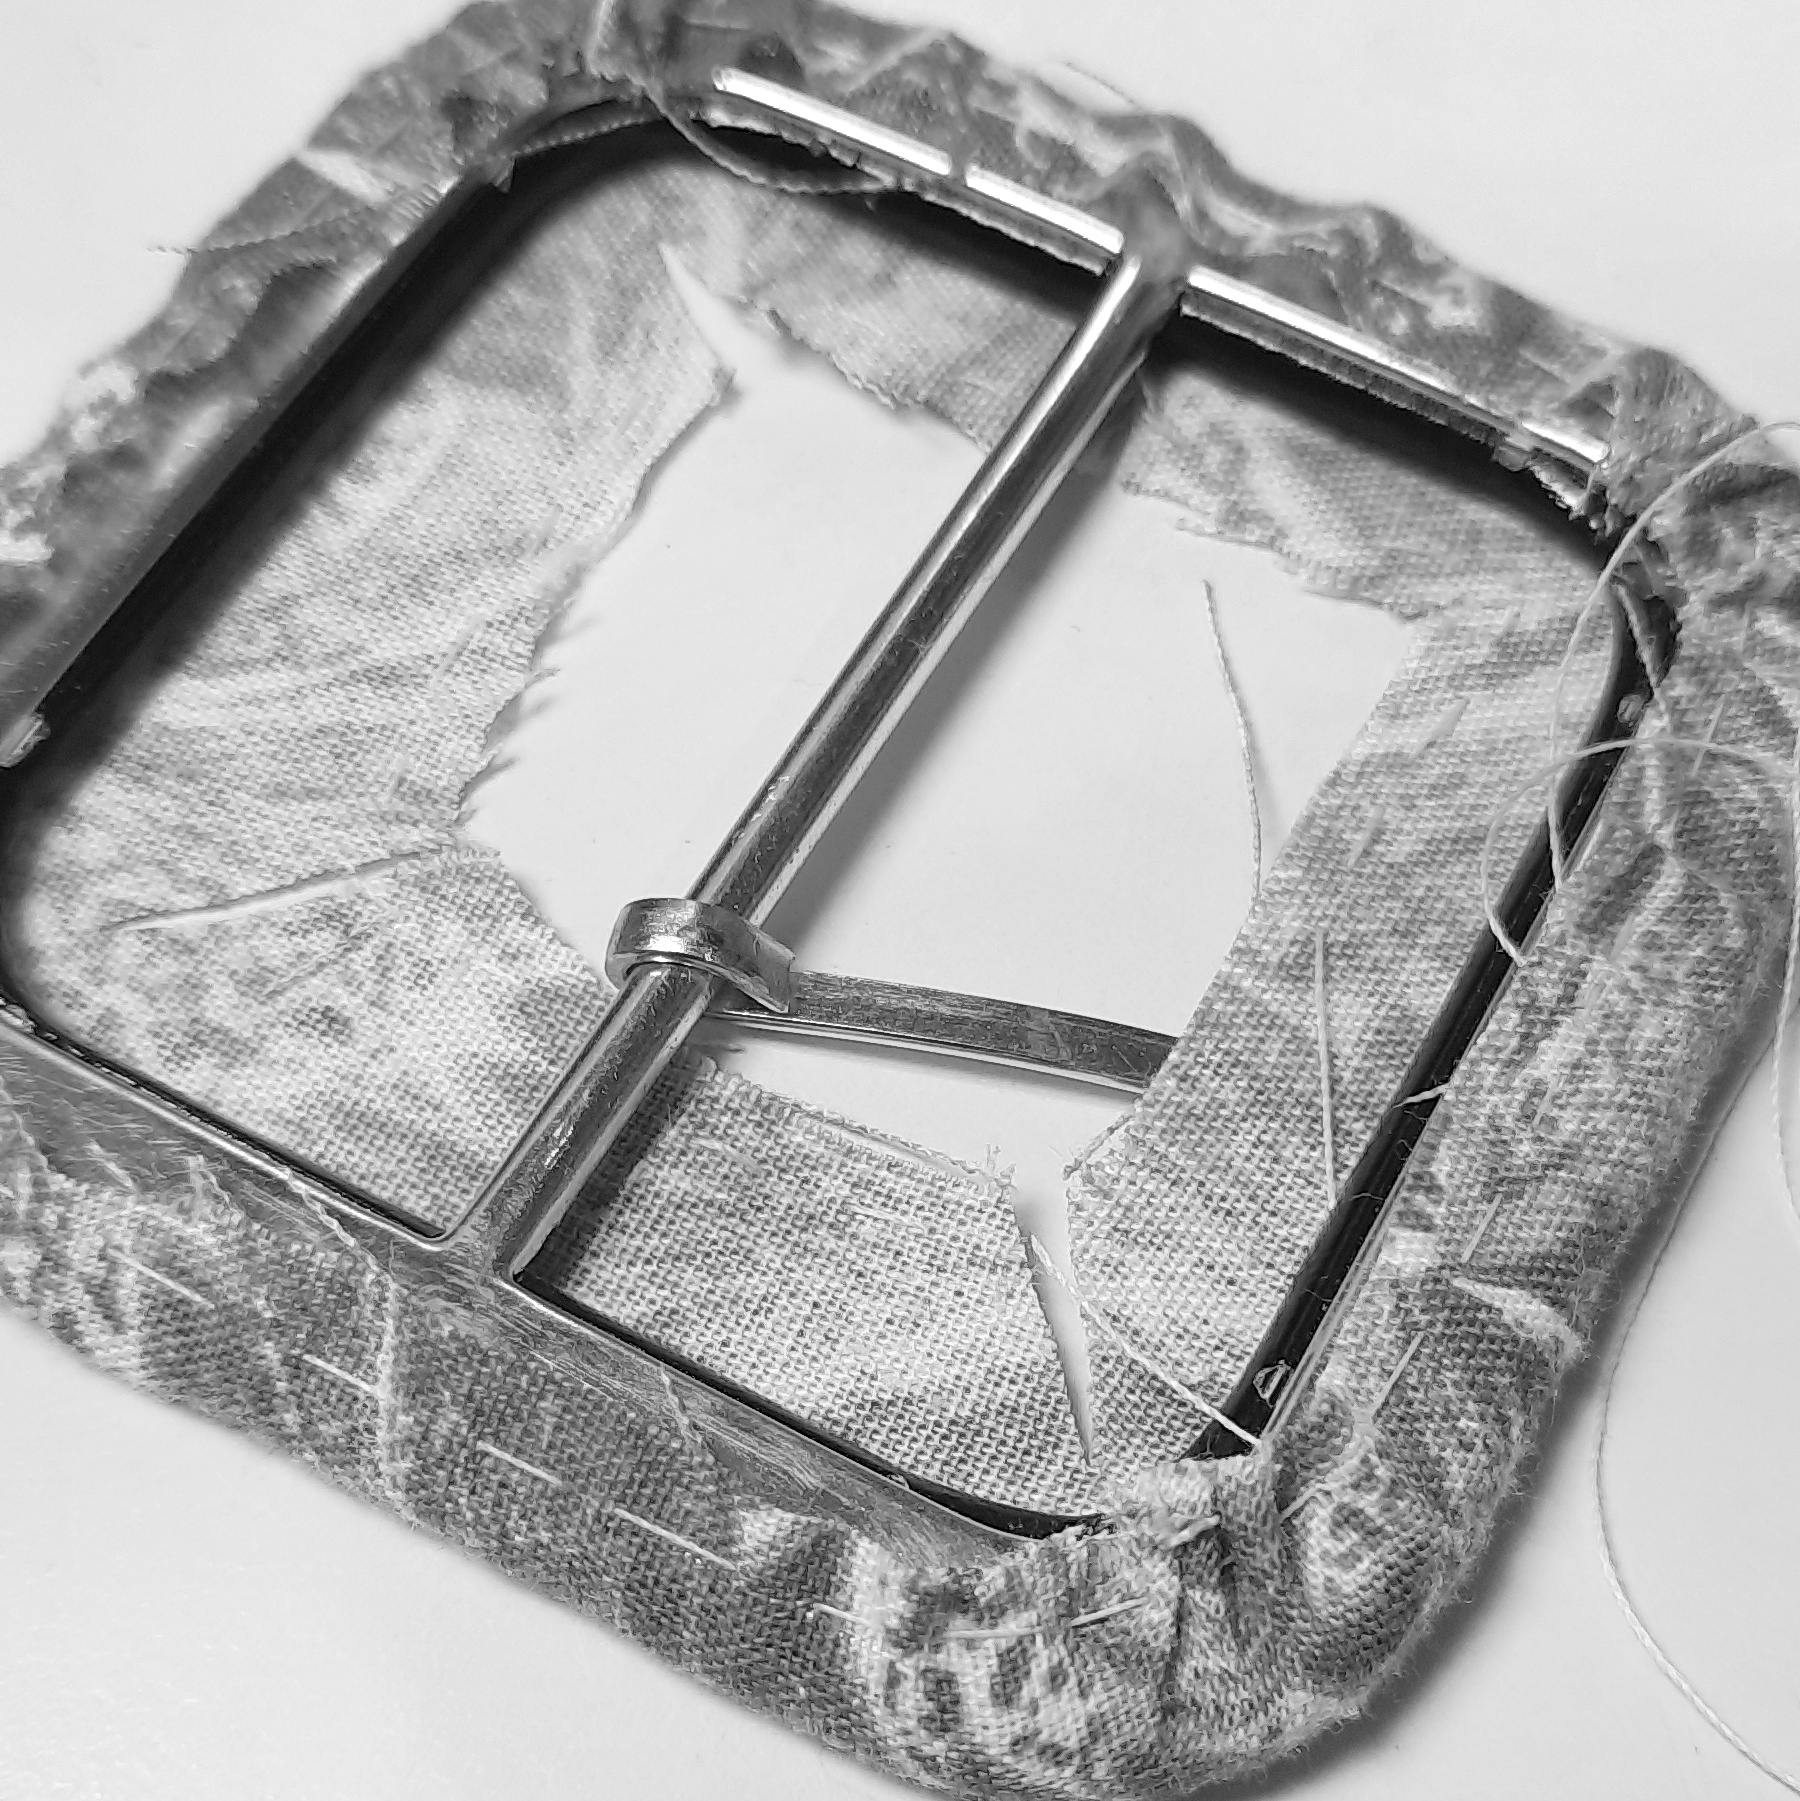
Overlap and sew the inner edge to the edge with the running stitch, keeping as taught as possible.
– Looks a little messy!!! But wait –

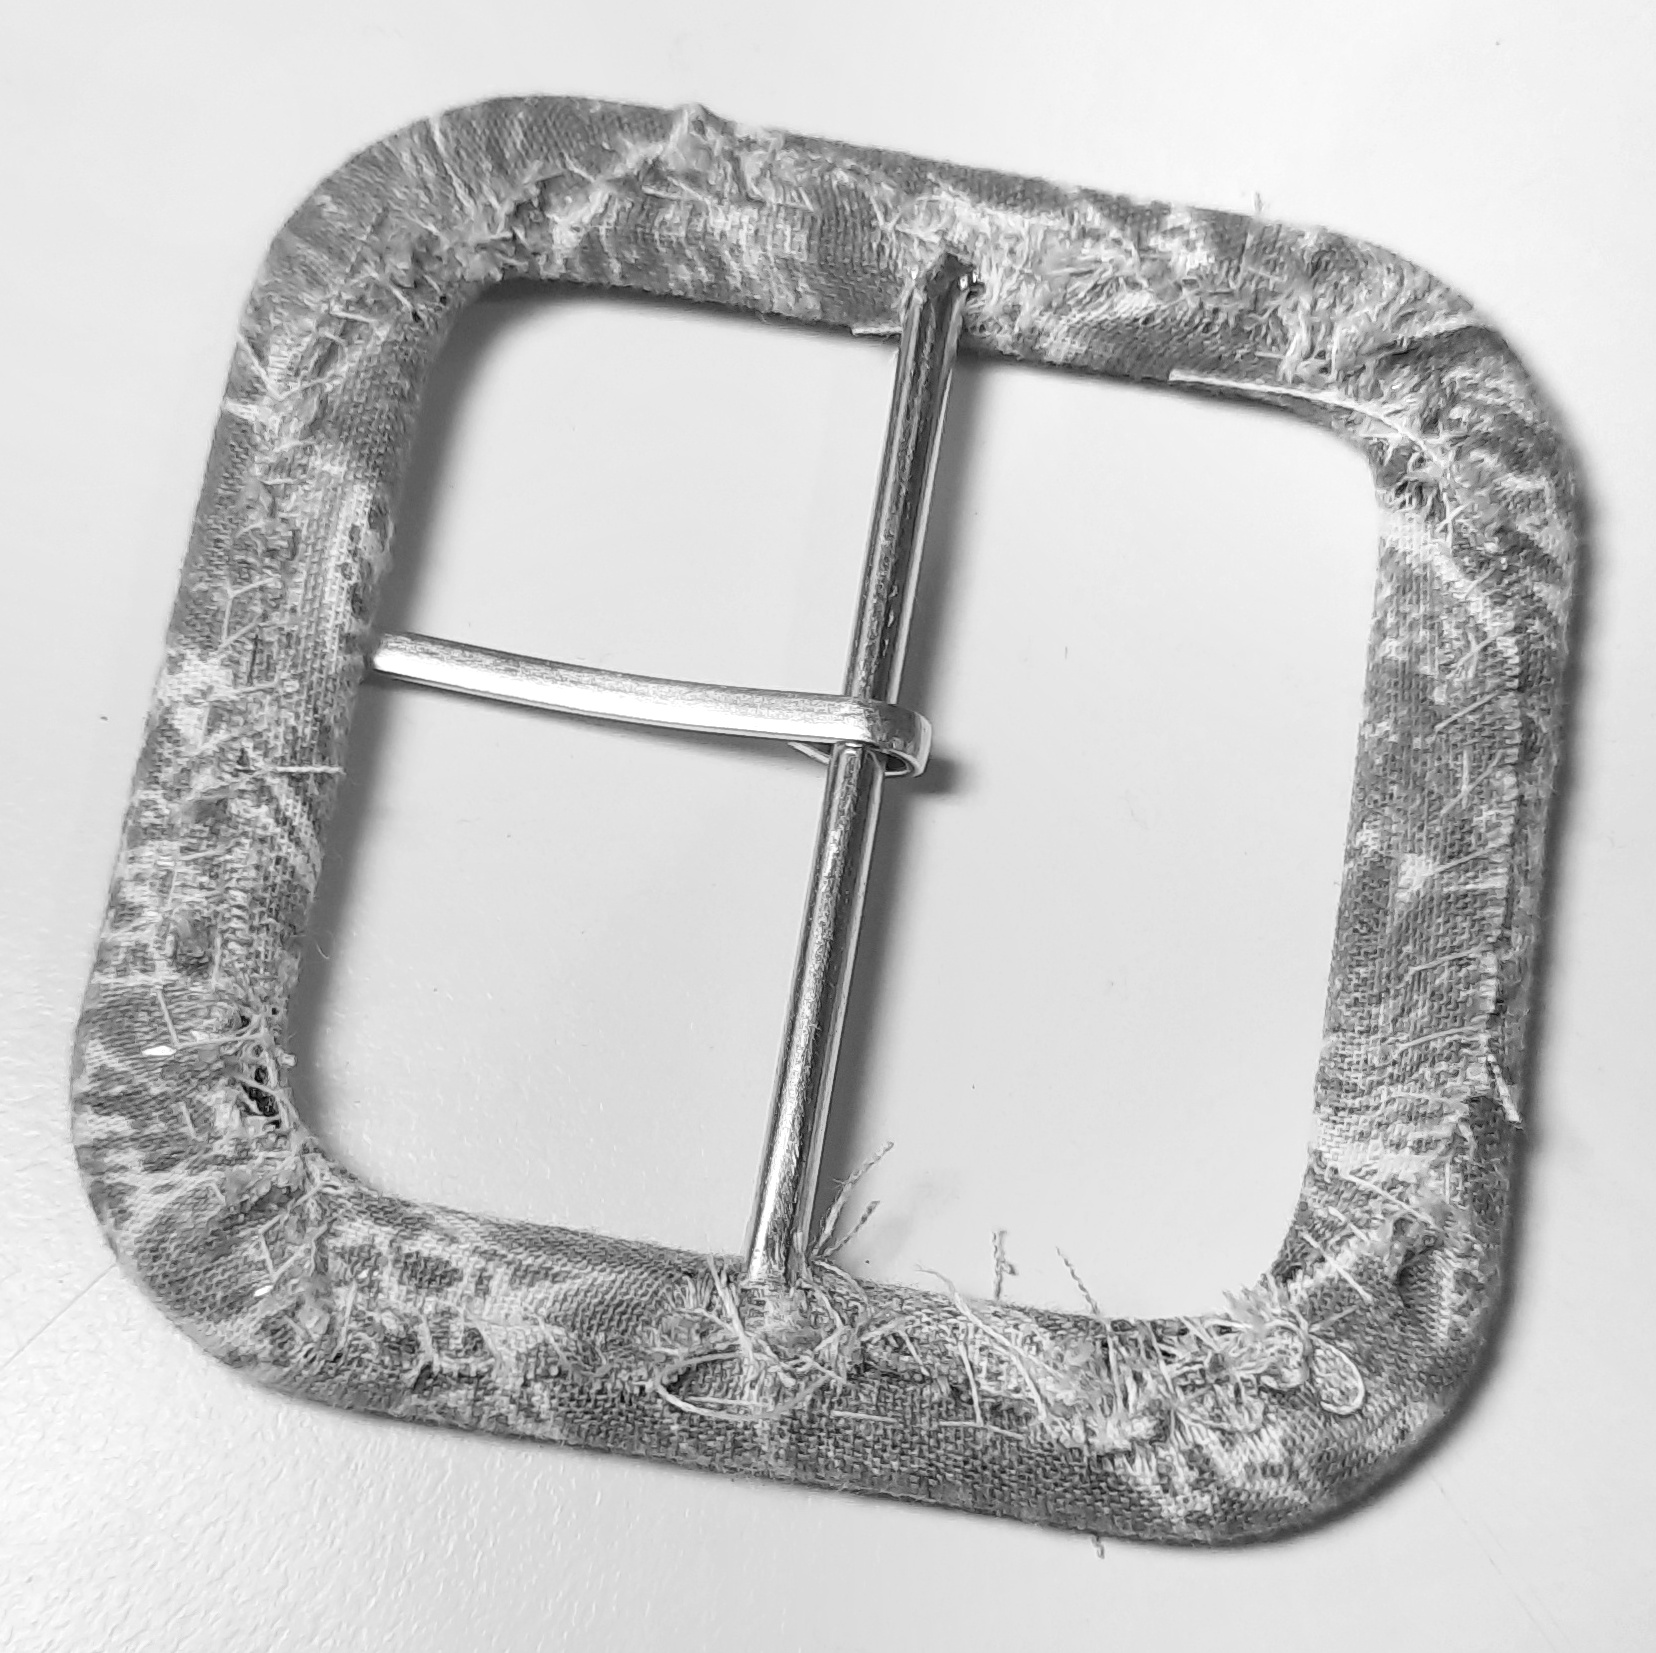
Apply interfacing to the wrong side of the back piece of fabric.
Draw around the buckle on another piece of fabric and cut around the shape.
With right side up, place the cut out shape onto the back of the buckle. Carefully, turn under a small amount of the fabric edge, and sew into place, all around.

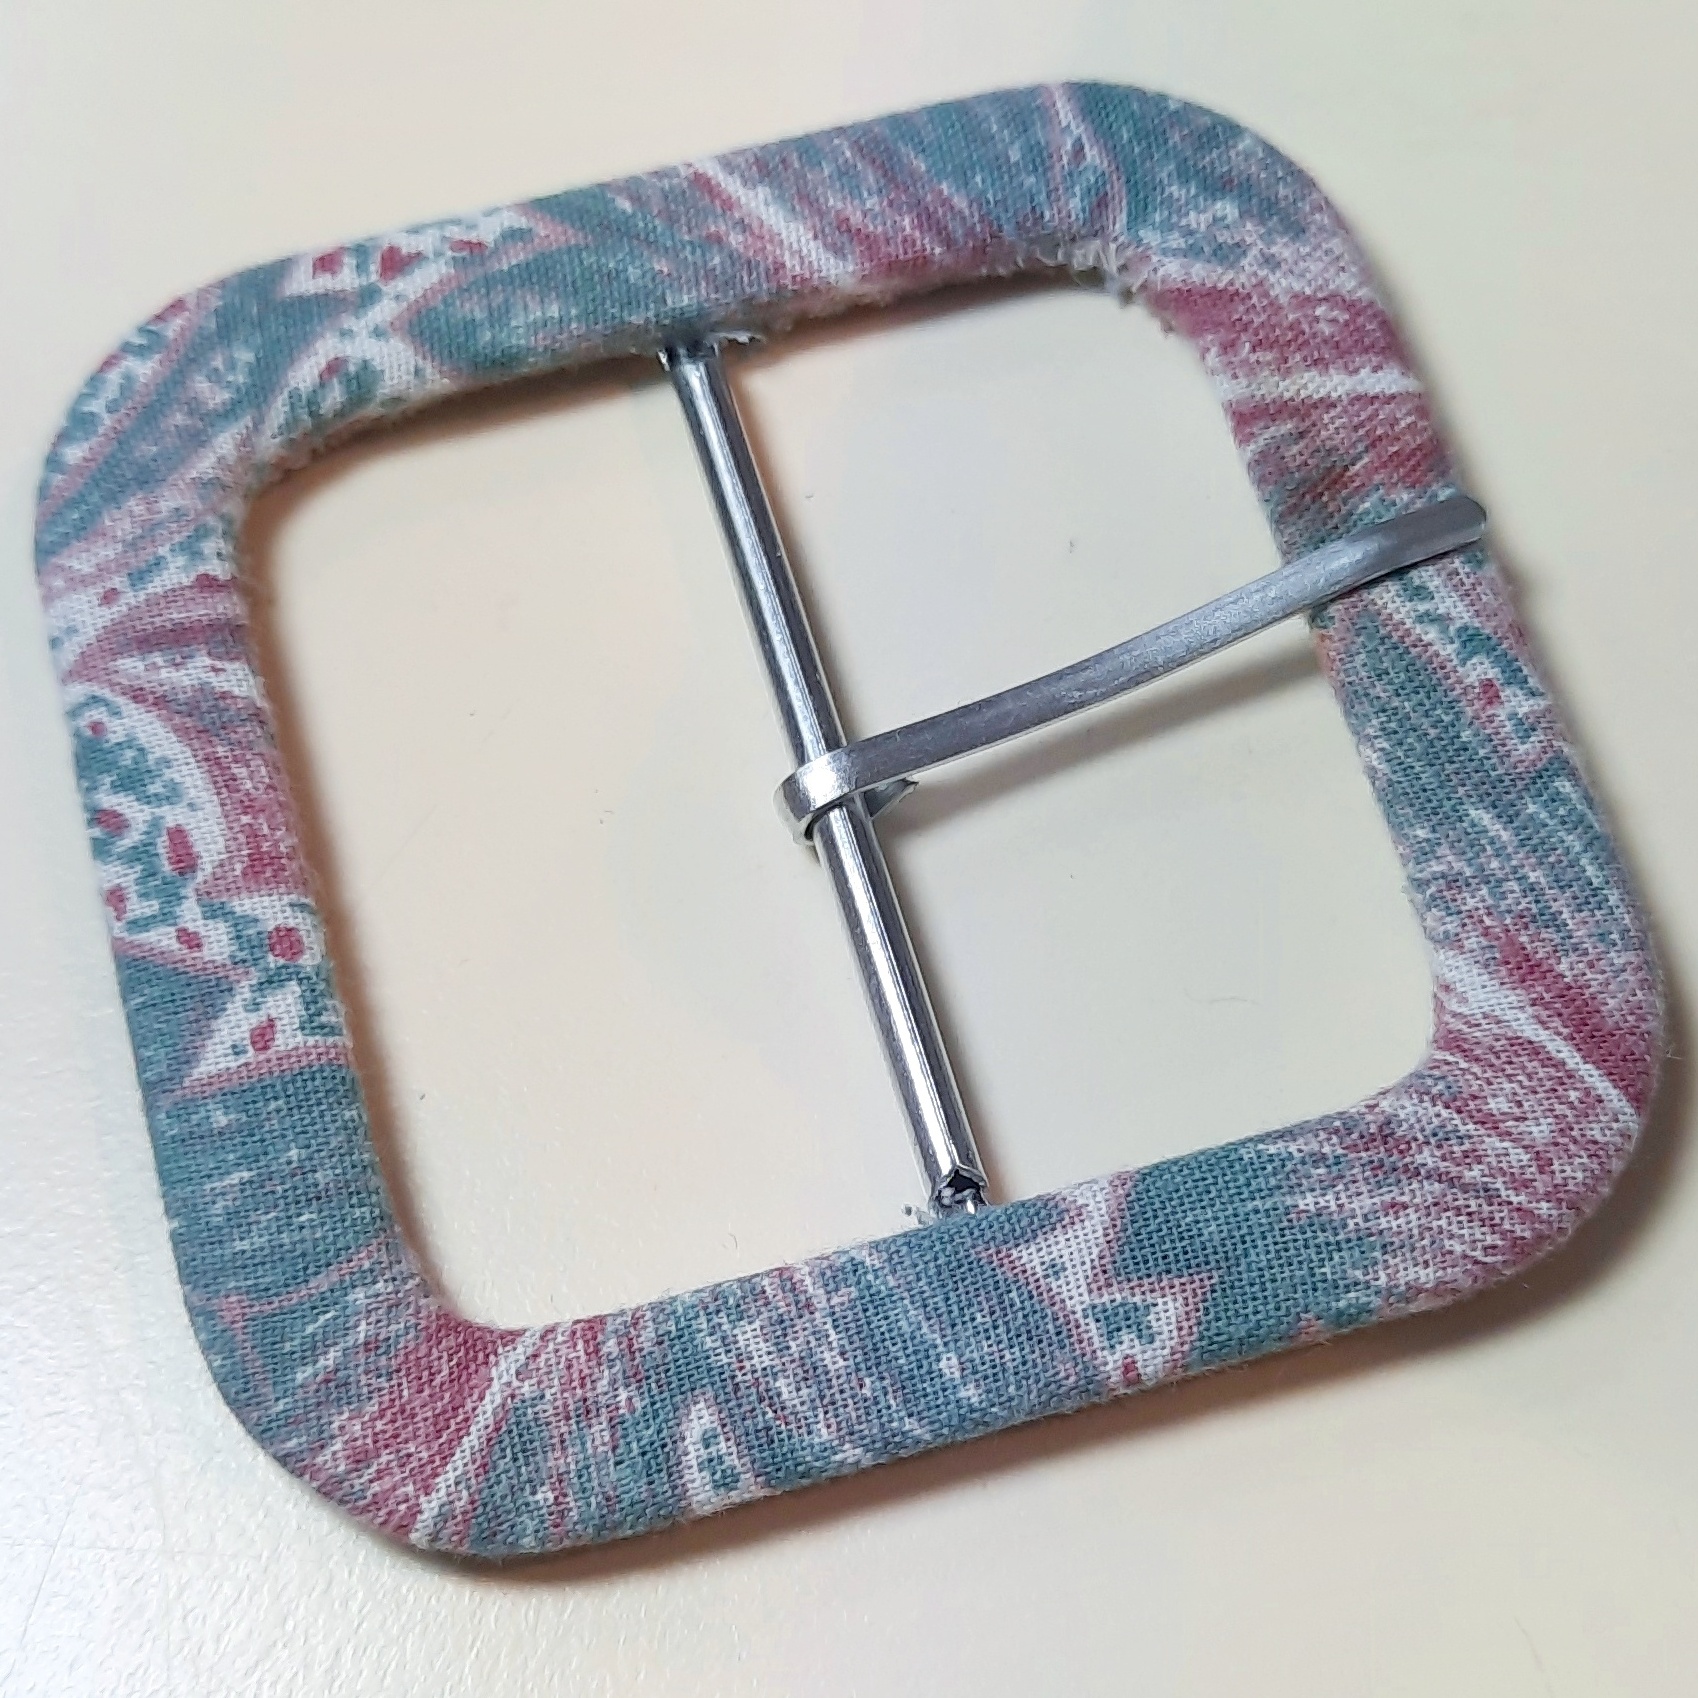
TA DA! One finished, covered belt buckle!
You May Also Like